How to Prevent Diaper Leaks, Rashes and Blowouts
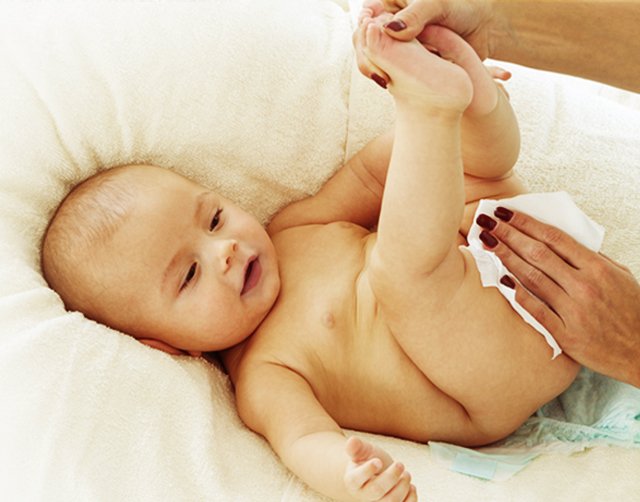
From birth to toddlerhood, your baby spends most of their time wearing a diaper. Knowing the basics of diaper fit, proper application, and a consistent changing routine helps you avoid common mishaps like diaper leaks, blowouts, and diaper rash. Here is a complete guide to keeping your little one comfortable, protected, and free to move.
Choosing the Right Diaper for Your Baby
Shape and fit top the list when it comes to finding the right diaper for your baby. Consider these key factors for the snuggest, most comfortable fit:
- Start with the right size: Leaks, red marks, gaps, or a diaper that fits like a bikini pant are signs of an improper fit. Pay close attention to the weight chart on the package. If your baby is nearing the top of the weight range, consider moving up a size for optimal diaper performance.
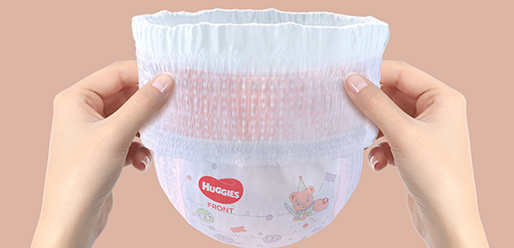
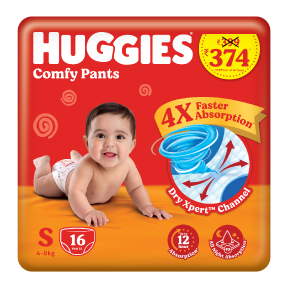
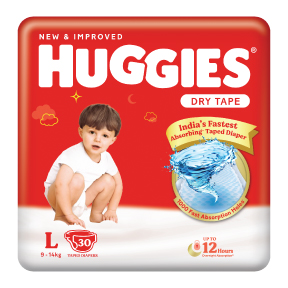
- Consider the diaper shape: A diaper shaped like your baby rather than a box provides a better, more natural fit. Huggies diapers have an hourglass shape contoured between the legs, giving your baby carefree comfort to move freely.
- Look for all-around stretch: Stretchy side tabs and a stretchy waistband in the back lead to a better fit and great leakage protection. Huggies snug and dry diapers offer all-around stretch and unbeatable leakage protection.
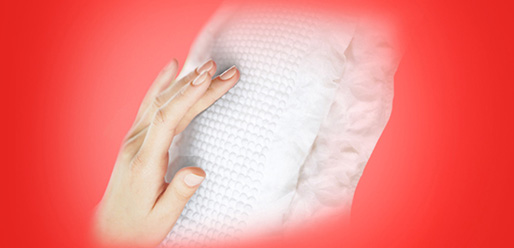
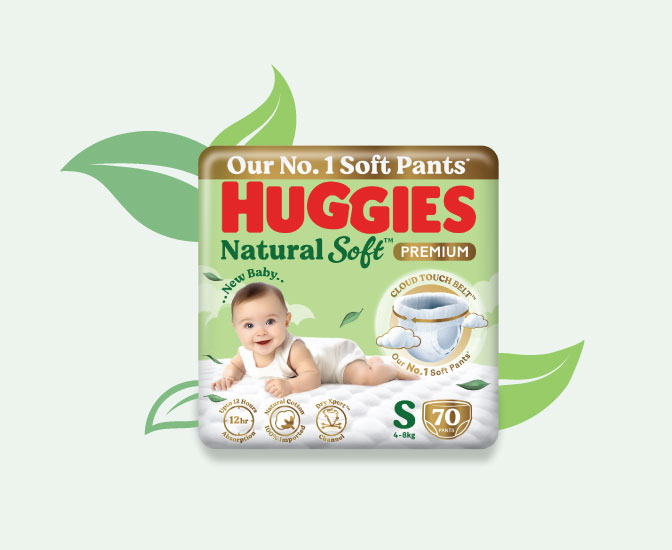
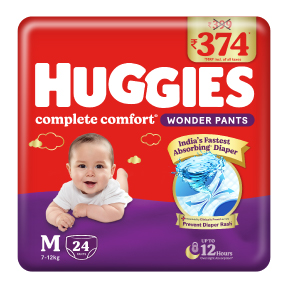
- Choose soft materials: Opt for soft and comfy materials that touch your baby's tender skin, like Huggies Diapers. Soft materials offer added reassurance of a comfy, secure feeling.
Snug Fit Checklist for Parents
- Do I have the right size for my baby?
- Is the diaper shaped like my baby?
- Does the diaper offer all-around stretch for a snug fit?
- Is the material soft and comfy?
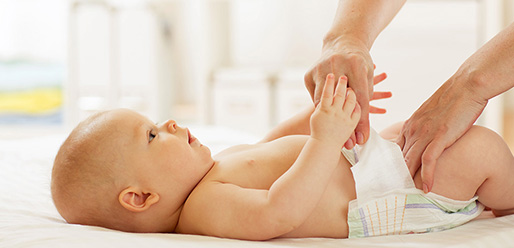
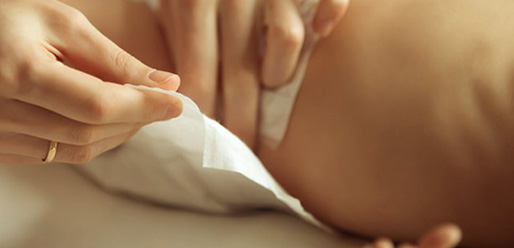
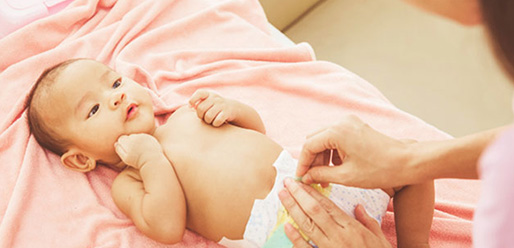
If you have ever experienced a blowout or a leaky diaper, you know it is something to avoid. Size is one of the most common causes for a leak or blowout, followed by improper application. Once you are sure about size, make sure the diaper is straight and symmetrical - front and back, side to side - with the waistband falling right at the waist.
Diaper rash happens even with the most attentive changing schedule. Despite its name, Irritant Diaper Dermatitis is caused by baby's skin being in contact with urine and stool. The acidity, frequency, and consistency of the stool, as well as the pH of the urine, all play a role in developing red, often painful areas on the skin.
Tips to Prevent and Treat Diaper Rash
- If your baby is prone to diaper rash, use hypo-allergenic and unscented baby wipes like Huggies Wipes.
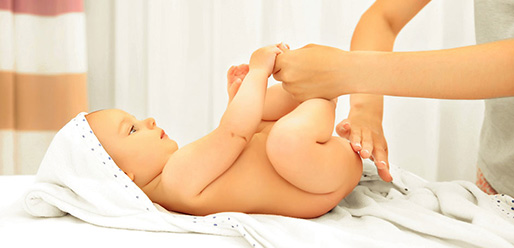
- Let your baby air dry before putting the diaper back on.
- Use cornstarch to help keep baby's bottom dryer. Avoid baby powder or talc as it can cause a reaction with sore skin and lung damage if inhaled.
- Try a zinc oxide-based diaper cream to prevent irritants from meeting delicate skin.
- Change your baby's diapers at regular intervals so there is never prolonged exposure to a wet or soiled diaper.
Recommended Diaper Change Schedule
| When to Change | Details |
| First thing every morning | Start the day with a fresh diaper |
| After a nap | Check and change after every sleep session |
| Before bedtime | Ensure a clean diaper for overnight comfort |
| After a bowel movement | Change immediately to prevent rash |
| Every two hours | Check regularly to see if a change is needed |
If your baby still develops diaper rash, talk to your baby's paediatrician. Some foods and medications can lead to diaper rash, so inform the doctor of anything that might be contributing to the irritation.
Diaper Mishap Troubleshooting Checklist
- Do I have the right-sized diaper for my baby?
- Does the diaper look symmetrical after I have changed her?
- Am I changing the diaper as often as I should?
- Do I need to add a zinc-oxide based diaper cream or ointment to our changing routine?
Your baby's diaper is a big part of their happy, healthy disposition. Take some time to think about the basics now so you can forget about diaper worries and focus on learning, growing, and playing together with your little one.